
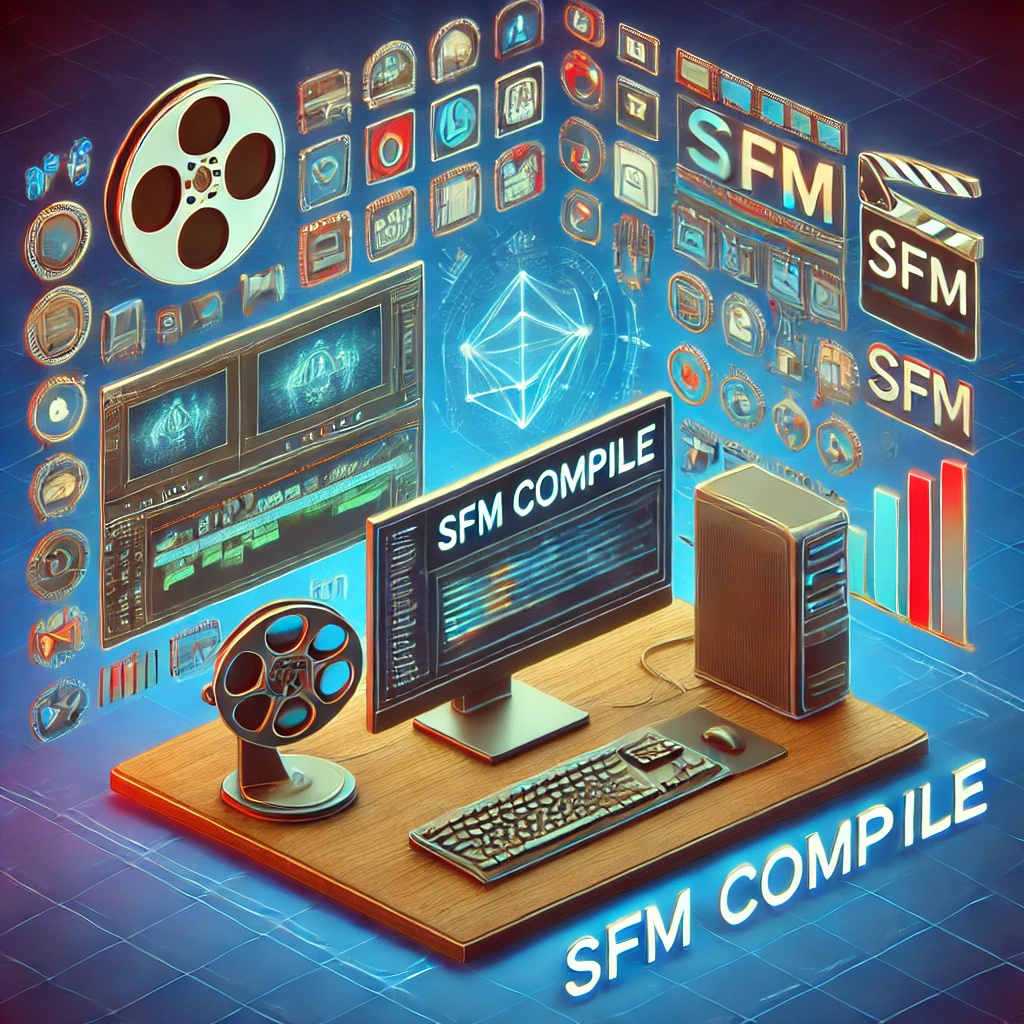
SFM Compile: Guide to Source Filmmaker Compilation
Source Filmmaker (SFM) is one of the most powerful tools for animators and filmmakers who want to create high-quality cinematic sequences using Valve’s Source Engine. However, working with SFM compile can be a complex process, especially for beginners. This article provides an in-depth exploration of what SFM compile means, its importance, how it works, and best practices for compiling animations in SFM.
Understanding SFM Compile and Its Importance
What Does SFM Compile Mean?
When working with Source Filmmaker, “compiling” refers to the process of rendering and exporting animations into a video format. In simpler terms, SFM compile is the final step where all elements—such as lighting, character animations, camera movements, and effects—are processed and transformed into a finished video file.
This process is crucial because it determines the final quality of the animation. A poorly compiled project can result in lower resolution, choppy frame rates, or even graphical errors.
Why Is Compiling Important in SFM?
- Optimizes Performance: SFM renders animations in real-time, but compiled videos run smoothly without the need for in-engine playback.
- Enhances Quality: The compile settings influence the resolution, anti-aliasing, and overall visual appeal.
- Prevents Glitches: Incomplete compilations or incorrect settings can lead to missing textures, lighting issues, or broken animations.
How to Compile in Source Filmmaker
Step 1: Setting Up Your Project
Before compiling, ensure that your project is properly set up:
- Make sure all assets, including models, textures, and sounds, are correctly imported.
- Use proper lighting settings to enhance visual quality.
- Optimize frame rates for smooth animation.
Step 2: Choosing the Right Compile Settings
SFM offers multiple options for exporting and compiling animations:
- Resolution: Standard choices include 720p, 1080p, and even 4K.
- Frame Rate: A standard 30 FPS is good for most videos, while 60 FPS provides smoother motion.
- Codec Options: SFM allows rendering in formats like AVI or TGA sequences for high-quality output.
Step 3: Rendering the Animation
- Open the Export Movie window in SFM.
- Choose the output format (e.g., AVI, PNG Sequence, or MP4).
- Adjust the quality settings to match your needs.
- Click Export and let SFM compile the animation.
Common Issues and Solutions During SFM Compile
1. Compilation Errors and Crashes
SFM can sometimes crash during compilation due to memory overload or software bugs.
Solution:
- Close unnecessary programs to free up system memory.
- Reduce render resolution if the computer struggles to handle high-quality compilation.
- Save frequently to avoid losing progress.
2. Black Screens in Final Render
Sometimes, the compiled video appears completely black or missing textures.
Solution:
- Ensure all models and textures are properly loaded before compiling.
- Check lighting settings, as improper configurations can cause black renders.
3. Poor Video Quality After Compilation
If the final render appears blurry or pixelated, it could be due to low-quality settings.
Solution:
- Increase output resolution to 1080p or higher.
- Use uncompressed formats like TGA sequences for maximum quality before converting.
Advanced Compilation Techniques in SFM
1. Using Image Sequences Instead of Direct Video Compilation
Rather than compiling directly into an AVI file, exporting animations as a sequence of high-resolution images provides greater control over final video editing.
Benefits:
- Retains maximum quality without compression.
- Allows frame-by-frame editing in video editing software.
2. Post-Processing and Color Correction
After SFM compile, use software like Adobe Premiere Pro or DaVinci Resolve to enhance colors, sharpen details, and add special effects.
3. Using Third-Party Tools for Better Compression
SFM’s built-in codec options may not provide the best quality-to-file-size ratio. Third-party tools like HandBrake can help convert the final video into a more optimized format without losing quality.
Understanding SFM Compile File Formats
When compiling a project in Source Filmmaker, choosing the right file format is crucial for both quality and compatibility. SFM offers several formats, each with unique benefits and use cases.
1. AVI Format
AVI is the most commonly used format in SFM due to its simplicity and broad compatibility. However, AVI files can be large and may suffer from compression artifacts if not configured properly.
Advantages:
- Widely supported by video players and editing software.
- Easy to export directly from SFM.
Disadvantages:
- Large file sizes.
- Limited compression options.
2. TGA Image Sequences
TGA sequences provide the highest quality by exporting each frame as a separate image. This method allows for detailed post-production editing.
Advantages:
- Lossless image quality.
- Frame-by-frame editing.
Disadvantages:
- Very large file sizes.
- Requires additional software to convert into a video.
3. PNG Image Sequences
PNG sequences are similar to TGA but offer smaller file sizes with minor compression.
Advantages:
- High quality with smaller file sizes.
- Alpha channel support for transparency.
Disadvantages:
- Slower rendering times.
- Still requires conversion into video format.
Optimizing SFM Compile for Performance
Compiling large projects can be resource-intensive, especially on older hardware. Optimizing your SFM workflow can significantly reduce render times and improve stability.
1. Reduce Scene Complexity
Too many models, lights, or particle effects can slow down rendering.
Tips:
- Use lower-poly models when possible.
- Limit the number of dynamic lights.
2. Use Level of Detail (LOD) Models
LOD models automatically reduce model complexity based on camera distance. This technique improves performance without sacrificing visual quality.
3. Pre-Render Test Frames
Rendering a few test frames before full compilation helps identify potential issues early.
SFM Compile Troubleshooting Guide
Even with proper setup, issues can arise during the SFM compile process. Here’s a detailed troubleshooting guide for common problems.
1. Missing Textures
Textures might not appear in the final render if the asset paths are incorrect.
Solution:
- Double-check that all custom models and textures are in the correct folders.
- Reload the session before compiling.
2. Audio Sync Issues
Audio may fall out of sync during compilation, especially with longer projects.
Solution:
- Use uncompressed WAV files instead of MP3.
- Export audio separately and sync it in post-production software.
3. Flickering Lights
Dynamic lights may flicker if not properly configured.
Solution:
- Increase the light’s sample size.
- Use static lights where possible.
How to Use Console Commands for SFM Compile
Source Filmmaker includes several console commands that can improve compilation performance and quality.
1. mat_antialiasing
Controls the level of anti-aliasing applied during rendering.
Example: mat_antialiasing 8
2. r_shadows
Enables or disables dynamic shadows.
Example: r_shadows 1
3. host_framerate
Locks the render frame rate.
Example: host_framerate 60
SFM Compile for VR Projects
With the rise of VR content, Source Filmmaker has become a powerful tool for creating immersive experiences. Compiling for VR requires special considerations.
1. High Resolution Rendering
VR projects require higher resolutions to maintain clarity.
Recommended Settings:
- 4K resolution.
- 90 FPS frame rate.
2. Stereo Rendering
Use two cameras to create stereoscopic images for VR headsets.
Advanced Lighting Techniques in SFM Compile
Lighting plays a significant role in the final quality of animations created with Source Filmmaker. Understanding how to optimize and apply advanced lighting techniques during the SFM compile process enhances the realism of your project.
1. Three-Point Lighting System
A three-point lighting system consists of key, fill, and backlights, which helps illuminate the subject from different angles.
Key Light: The primary light source, usually the brightest.
Fill Light: Reduces harsh shadows created by the key light.
Backlight: Separates the subject from the background.
Applying this system gives your animation a more cinematic feel.
2. Volumetric Lighting
Volumetric lighting, also known as “god rays,” adds atmospheric depth to scenes.
How to Apply:
- Use fog controllers in the element viewer.
- Adjust light intensity and cone angles.
3. Shadow Quality Optimization
Shadows can make or break the visual appeal of your animation.
Tips:
- Use soft shadows for more natural effects.
- Increase shadow map resolution for detailed shadows.
- Disable shadows for distant lights to improve performance.
Working with Particle Effects in SFM Compile
Particle effects add realism and dynamic elements to animations, such as smoke, fire, and rain. Properly compiling particle effects ensures they render smoothly.
1. Adding Particle Systems
Particles can be added from the asset browser or through custom scripts.
Steps:
- Open the element viewer.
- Right-click on the scene and select “Create Animation Set for New Particle System.”
- Choose your desired particle effect.
2. Customizing Particle Properties
Modify particle lifespan, density, and velocity to fit your scene.
Example: Adjusting smoke particles to make them thicker and slower for a more dramatic effect.
3. Performance Tips
- Use fewer particles for distant effects.
- Lower the update rate for minor background effects.
SFM Compile Export Settings for Different Platforms
Different platforms require different export settings to ensure the best playback experience.
1. YouTube and Streaming Platforms
YouTube supports a variety of formats, but the best settings are:
- Resolution: 1080p or 4K
- Codec: H.264
- Frame Rate: 30 or 60 FPS
2. Social Media (Instagram, Twitter)
Social media platforms require smaller file sizes and faster render times.
Recommended Settings:
- Resolution: 1080×1080 for square videos
- Codec: H.264
- Bitrate: 10 Mbps
3. VR Platforms
VR content requires higher resolutions and frame rates.
Settings:
- Resolution: 4K
- Frame Rate: 90 FPS
- Codec: H.265
Managing File Sizes During SFM Compile
Large file sizes can slow down post-production workflows and make sharing difficult. Here are methods to reduce file sizes without compromising quality.
1. Compression Techniques
Use H.264 or H.265 codecs for video compression.
2. Reducing Bitrate
Lowering the bitrate reduces file size, but be careful not to lose quality.
3. Exporting Image Sequences Instead of Video
Exporting image sequences allows you to compress the video later without affecting individual frames.
Automating SFM Compile with Scripts
Automating parts of the SFM compile process saves time and ensures consistency.
1. Auto Compile Scripts
Scripts can be written to automatically start rendering with predefined settings.
Example Script:
sfm.exe -render movie "project.dmx" -output "final.mp4" -quality high
2. Batch Rendering
Batch rendering allows multiple projects to be compiled one after another without manual input.
SFM Compile Best Practices for Beginners
If you’re new to Source Filmmaker, following best practices ensures smooth and efficient rendering.
1. Organize Your Project
- Create separate folders for models, textures, and audio.
- Name files clearly to avoid confusion.
2. Save Regularly
Crashes can happen unexpectedly, so save your project frequently.
3. Use Reference Images
Reference images help maintain visual consistency throughout the project.
Enhancing SFM Compile Quality with Plugins
Several third-party plugins can improve SFM compile quality and add new features.
1. VTFEdit
Used for creating and editing texture files.
2. GIMP
Free image editing software for creating custom textures.
3. Audacity
Audio editing software for cleaning up dialogue and sound effects.
Common SFM Compile Errors and How to Fix Them
During the SFM compile process, users may encounter various errors that can disrupt rendering. Understanding these errors and knowing how to resolve them will save time and frustration.
1. Missing Texture Errors
This happens when Source Filmmaker cannot locate texture files for models or environments.
Fix:
- Check that the texture file path is correct.
- Ensure the texture files are placed in the correct directory.
- Use tools like VTFEdit to recompile missing textures.
2. Out of Memory Errors
Large projects with high-resolution textures or particle effects may cause memory issues.
Fix:
- Reduce texture resolution.
- Close background applications before rendering.
- Split long animations into smaller segments.
3. Invalid Bone Weight Errors
This error occurs when a model’s bones are not correctly weighted.
Fix:
- Re-rig the model using Blender or 3ds Max.
- Use weight painting tools to correct bone assignments.
SFM Compile Performance Optimization Tips
Optimizing performance during the SFM compile process ensures faster rendering without sacrificing quality.
1. Use LOD Models
Level of Detail (LOD) models use lower-polygon versions of models when the camera is far away.
Tip:
- Enable LOD models for background elements.
- Use higher-quality models only for close-ups.
2. Disable Unnecessary Lights and Shadows
Excessive lighting can drastically increase compile times.
Fix:
- Turn off dynamic lights for objects that don’t need them.
- Use baked lighting whenever possible.
3. Optimize Audio Files
Large audio files can slow down rendering.
Tip:
- Use compressed audio formats like MP3.
- Trim unnecessary audio portions before importing.
Custom Shaders and Materials in SFM Compile
Adding custom shaders and materials enhances the visual quality of SFM animations.
1. Phong Shading
Phong shading creates realistic surface reflections.
How to Apply:
- Add a Phong shader to the model’s VMT file.
- Adjust specular highlights and glossiness.
2. Rim Lighting
Rim lighting highlights the edges of objects to create a cinematic look.
How to Apply:
- Use the rimlight parameter in the VMT file.
- Adjust intensity and color for the desired effect.
3. Transparent Materials
Transparent materials are useful for glass, water, or holographic effects.
Fix:
- Use the
$translucentparameter in the VMT file. - Set proper alpha channel values.
Camera Animation Techniques in SFM Compile
Proper camera animation makes scenes more dynamic and engaging.
1. Smooth Camera Paths
Use splines to create fluid camera movements.
Tip:
- Use the Graph Editor to adjust keyframe interpolation.
- Add ease-in and ease-out curves for realistic motion.
2. Depth of Field Effects
Simulate camera focus for cinematic shots.
How to Apply:
- Enable Depth of Field in the camera’s properties.
- Adjust focal distance and aperture size.
3. Camera Shake Effects
Add subtle camera shakes for action scenes.
Fix:
- Use procedural noise modifiers in the Graph Editor.
- Manually animate position and rotation properties.
Rendering Transparent Overlays in SFM Compile
Transparent overlays are useful for creating HUDs, holograms, or user interfaces.
1. Creating Overlays in Photoshop
Design overlays with alpha channels.
Tip:
- Save overlays as PNG or TGA files.
- Use transparency masks for clean edges.
2. Importing Overlays into SFM
Load overlay textures into Source Filmmaker.
Steps:
- Create a new Material Overlay entity.
- Assign the texture to the entity.
3. Animating Overlays
Use animation sets to move and scale overlays over time.
Advanced Sound Design in SFM Compile
Sound design plays a crucial role in the overall impact of an animation.
1. Foley Sound Creation
Record custom sound effects for footsteps, clothing, and environmental interactions.
Tip:
- Use free tools like Audacity for editing.
- Layer multiple sounds for realism.
2. Audio Syncing Techniques
Synchronize sound effects with visual actions.
Steps:
- Use markers in the Timeline Editor.
- Adjust audio timing with keyframes.
3. Ambient Soundscapes
Create immersive backgrounds with layered ambient sounds.
Tip:
- Loop low-volume sounds like wind or traffic.
- Use reverb effects for indoor environments.
Post-Processing Effects in SFM Compile
Post-processing effects enhance the final look of animations.
1. Color Grading
Adjust colors to create different moods.
How to Apply:
- Use the Color Correction entity.
- Adjust brightness, contrast, and saturation.
2. Bloom Effects
Add glowing highlights to bright areas.
Fix:
- Use the Bloom Controller entity.
- Adjust intensity and threshold.
3. Motion Blur
Simulate realistic camera motion.
Tip:
- Use the Motion Blur Controller entity.
- Set proper blur strength based on camera speed.
Collaborative Workflows in SFM Compile
Working with others on SFM projects requires proper file management and version control.
1. Project Organization
Use consistent folder structures for assets and scenes.
Tip:
- Use version numbers in filenames.
- Store reference files separately.
2. Cloud Storage Solutions
Use cloud storage for sharing project files.
Recommended Services:
- Google Drive
- Dropbox
3. Version Control Tools
Use Git or SVN for collaborative version control.
Conclusion
Mastering SFM compile is essential for anyone looking to create professional-quality animations in Source Filmmaker. By understanding the compilation process, troubleshooting common issues, and using advanced techniques, you can significantly improve the final output of your projects. Whether you are a beginner or an experienced animator, optimizing your SFM compilation workflow will lead to better and more efficient video production.